7.3 Inviting a Team Member
Adding someone to your organization is done by invitation. You provide the person's email address and pick a role; Tangible Cloud emails them a link, and once they accept, they join your organization as a member with the role you chose.
Who can send invitations
Sending invitations requires an Owner or Admin role. If you don't see an Invite Member button on the Team Members tab, your role doesn't include this permission. Ask someone in your organization who has it.
Send an invitation
- Click Settings in the left navigation.
- Open the Team Members tab.
- Click Invite Member at the top of the Team Members tab. You're taken to the Invitations tab, and the invite dialog opens automatically (or if it doesn't, click New Invitation or Send Invitation on that tab to open it).
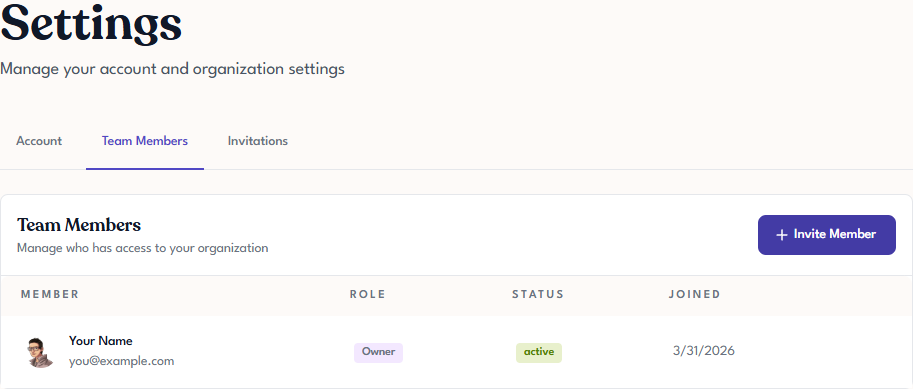
- Enter the person's Email address.
- Choose a Role from the dropdown. The default is Developer; see Roles and Permissions if you're not sure which to pick.
- Click Send Invitation.
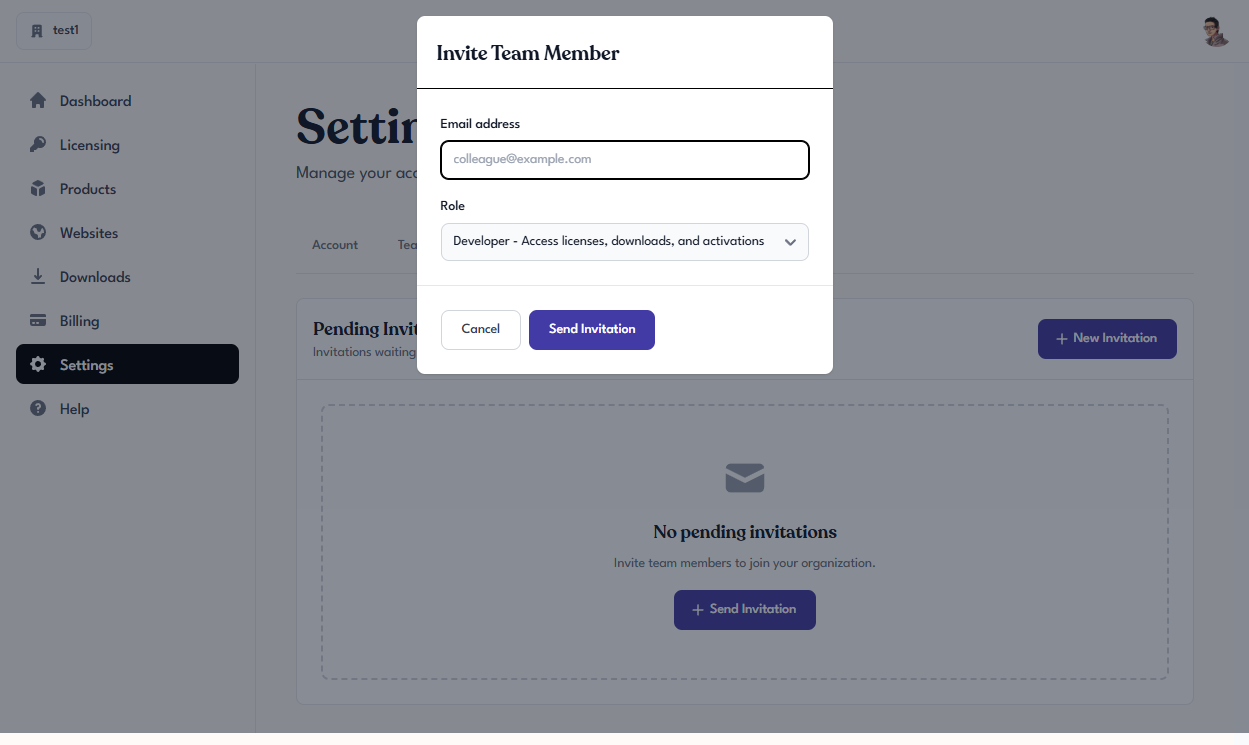
A confirmation appears showing the invitation was sent, along with a backup invitation link you can copy and share directly if the email doesn't arrive.
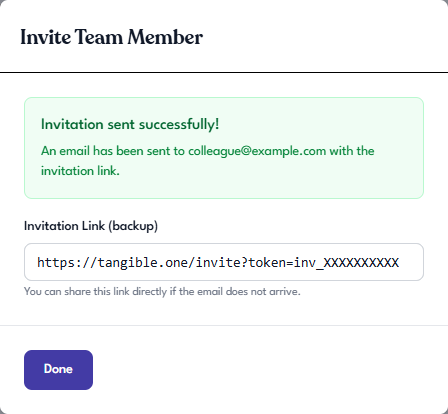
Click Done to close the dialog. The invitation appears in the Invitations tab as a pending invitation until the invitee accepts. See Managing Invitations.
What the invitee sees
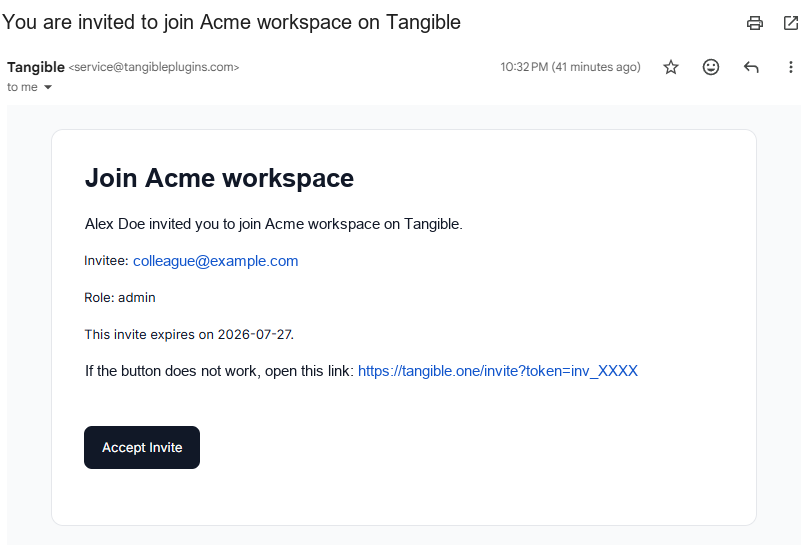
The recipient gets an email from Tangible Cloud naming the organization, the role they've been offered, and the expiry date, with an Accept Invite button. The email also includes the plain link, in case the button doesn't work in their mail client.
You can also share the backup link directly from the confirmation dialog, which is useful if the email doesn't arrive.
Clicking either the button or the link takes them to an invitation page that shows the inviting organization and the role they'll be given, with Accept Invite and Decline options. The page also shows the expiry date and a partly-masked version of the address the invite was sent to, so the recipient can tell which of their addresses to sign in with.
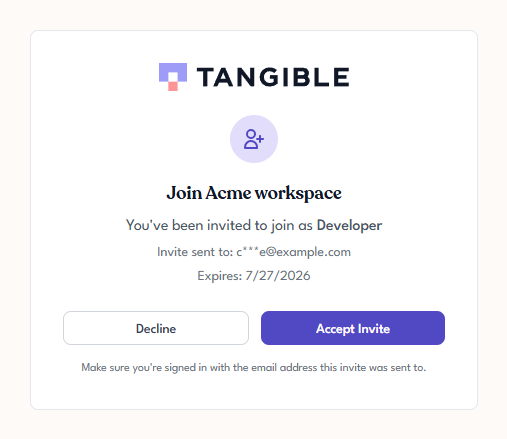
From that page:
- If they don't yet have a Tangible Cloud account, they're prompted to sign up or sign in first. See Signing Up and Signing In.
- If they already have an account, accepting drops them straight into the new organization. The organization appears in their Your organizations list and is available immediately.
If the link can't be loaded
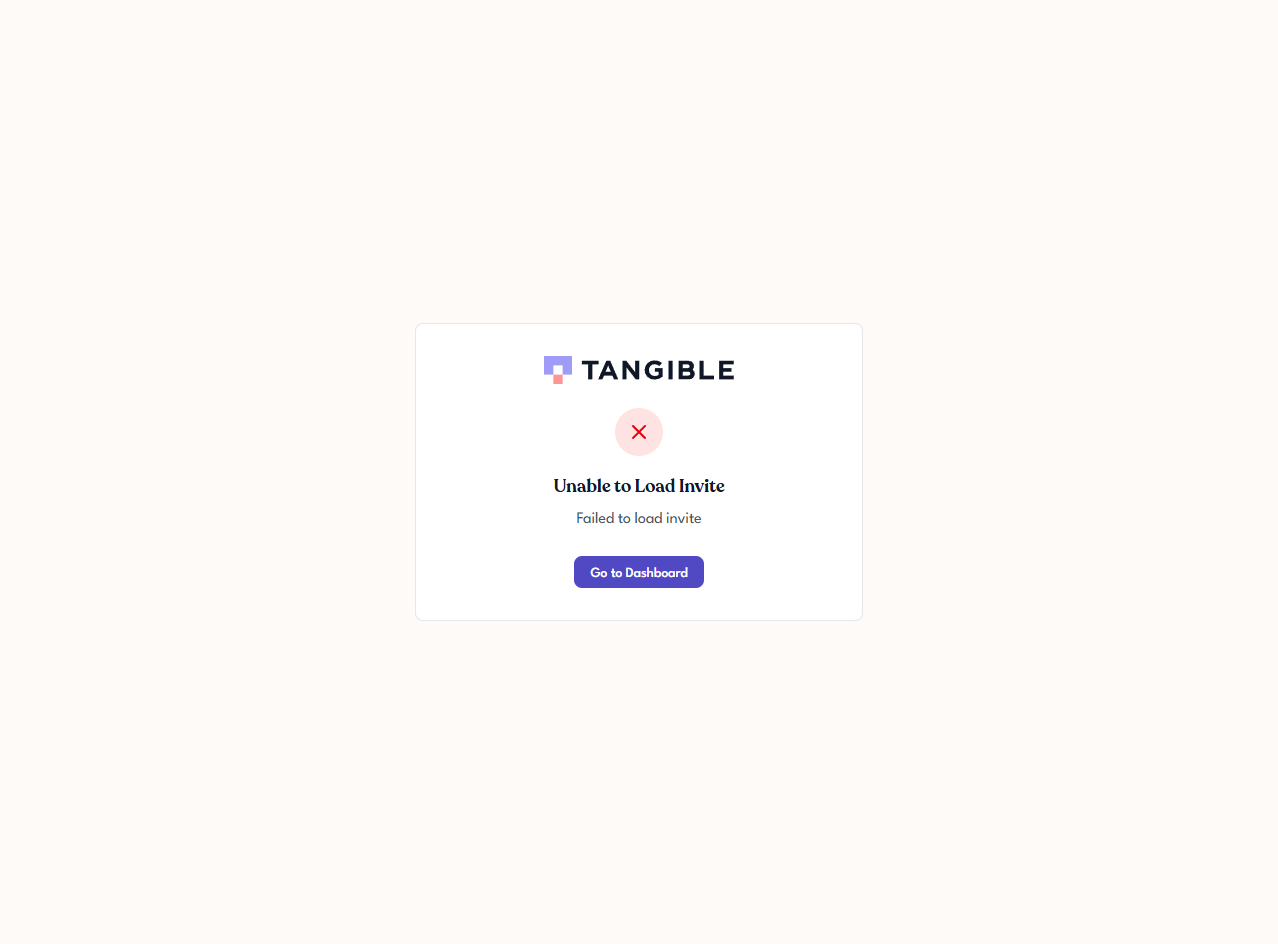
If the invitation page can't be loaded (expired or revoked token, already accepted, or a transient problem reaching Tangible Cloud), it shows an Unable to Load Invite message. The recipient is directed to go to the Dashboard; the inviter should resend a fresh invitation (see Managing Invitations).
If the invitation doesn't arrive
Common reasons:
- The email went to spam or was filtered by a corporate mail server.
- The email address was mistyped. Check it in the Invitations tab against what you meant to enter.
- The invitation expired before it was used. Invitations are valid for 7 days from when they're sent.
See Managing Invitations for how to resend or replace an invitation.